Statecharts are everywhere! #3 – Getting started with YAKINDU Statechart Tools

After leaving BridgePoint, it was time to get started with YAKINDU Statechart Tools. Let’s start with an official introduction of YAKINDU Statechart Tools from its website:

The free to use, open source toolkit YAKINDU Statechart Tools (SCT) provides an integrated modeling environment for the specification and development of reactive, event-driven systems based on the concept of statecharts.

Following figures are from the website of YAKINDU Statechart Tool.

Editing

SCT features an intuitive combination of graphical and textual notation. While states, transitions and state hierarchies are graphical elements, all declarations and actions are specified using a textual notation. The usability of the statechart editor is simply fascinating.

Validation

The validation of state machines includes syntax and semantic checks of the full model. Examples of built in validation rules are the detection of unreachable states, dead ends and references to unknown events. These validation constraints are checked live during editing.

Simulation

The simulation of state machine models allows the dynamic semantics to be checked. Active states are directly highlighted in the statechart editor and a dedicated simulation perspective features access to execution controls, inspection and setting variables, as well as raising events.

Code generation

SCT includes code generators for Java, C and C++ out of the box. The code generators follow a code-only approach and do not rely on any additional runtime library. The generated code provides a well-defined interface and can be integrated easily with any client code.

After the marketing part, let’s get some hands-on experience with Yakindu. It has a really intuitive and exhaustive documentation with lots of tutorials and video instructions. One can get familiar with Yakindu in an hour or so.

Transforming BridgePoint models to Yakindu statecharts

 As I mentioned in the previous parts of this post series (#1, #2), I designed a lot of state machines in xtUML BridgePoint Editor. However, we had some serious issues with BridgePoint, so we switched for Yakindu Statechart Tool. We hoped it would be a statechart designer suite that enables simulation and code generation too.

Since BridgePoint follows the xtUML methodology is based on Shlaer-Mellor Method of Model-Driven Architecture that is an object-oriented software development methodology (more on Wikipedia). This means we can design the structure of the state machine hierarchy in a class diagram manner depicted in the next figure.

As you can see classes can inherit from each other, however multiple inheritance is not allowed. This inheritance is similar to the virtual function concept of C++, and the abstract method concept of Java and C#. This means if the superclass does not handle an event, then its subclass must handle it. However it is not possible to redefine an event in subclass, that has already been handled by the superclass.

In Yakindu Statecharts this object-oriented concept is not followed, because it would be quite weird. Instead, we had to translate this in some respect hierarchical structure to a more convenient one.

That’s why we created a separate SCT model for the Section and the Turnout. Within each model we designed a hierachical statechart that consists of parallel regions, let’s see.

Section

We introduced a general statechart for the Sections. It means in the figure above you can see that the Section was connected to the Turnout through three associations, which describes from which direction the Section connects to the Turnout (of course only one association was valid for each Section instance).

Now, this information is stored in a variable, called direction, which may have three values: STRAIGHT, DIVERGENT, TOP. In the statechart all the messages are compared to this direction value, and in this way the concept of direction has been preserved for the ‘safety logic’ protocol.

The statechart of the OccupiedSection, depicted below, can be compared to the former version here that was designed in BridgePoint.

Turnout

The highest-level statechart of the Turnout is responsible for differentiating the recent direction of the Turnout. It means, whether the Turnout connects the straight – top or the divergent – top sections. In this way the former large columns of inheritance hierarhcy (depicted above) have been replaced with two composite states which contain parallel regions.

As an example the StraightTurnout state now handles the possible events in five parallel regions. This way multiple events can be handled from the safety logic protocol’s perspective, at one time. In the former version, if a lock request has been received by the Turnout, then it rejects and further requests. In the recent version it now handles the parallel requests independently. The statechart is too complicated to be depicted in this post, but you can see it on an external link here.

Validation

Yakindu Statechart Tool has a built-in validation framework for syntax and semantic checks of the created models.

It includes the
detection of unreachable states, dead ends and references to unknown
events. These validation constraints are checked live during editing.

E.g. for the Turnout model it found that several choice nodes, do not have a default outgoing transition. So it can be a problem, if at runtime there is no valid outgoing transition from a choice node.

Simulation

We have not tried the Simulator for our models, because we were so eager to see the generated code working with the model railway track, that we skipped this stage.

Code generation

We used the built-in Java code generator to generate code from the statecharts. We connected the Section and Turnout models through the interfaces of the generated codes.

If they raise an event, that should be dispatched to each other, then it goes through the interfaces of the separate statecharts. In this way all statecharts are separated, can be configured and run individually.

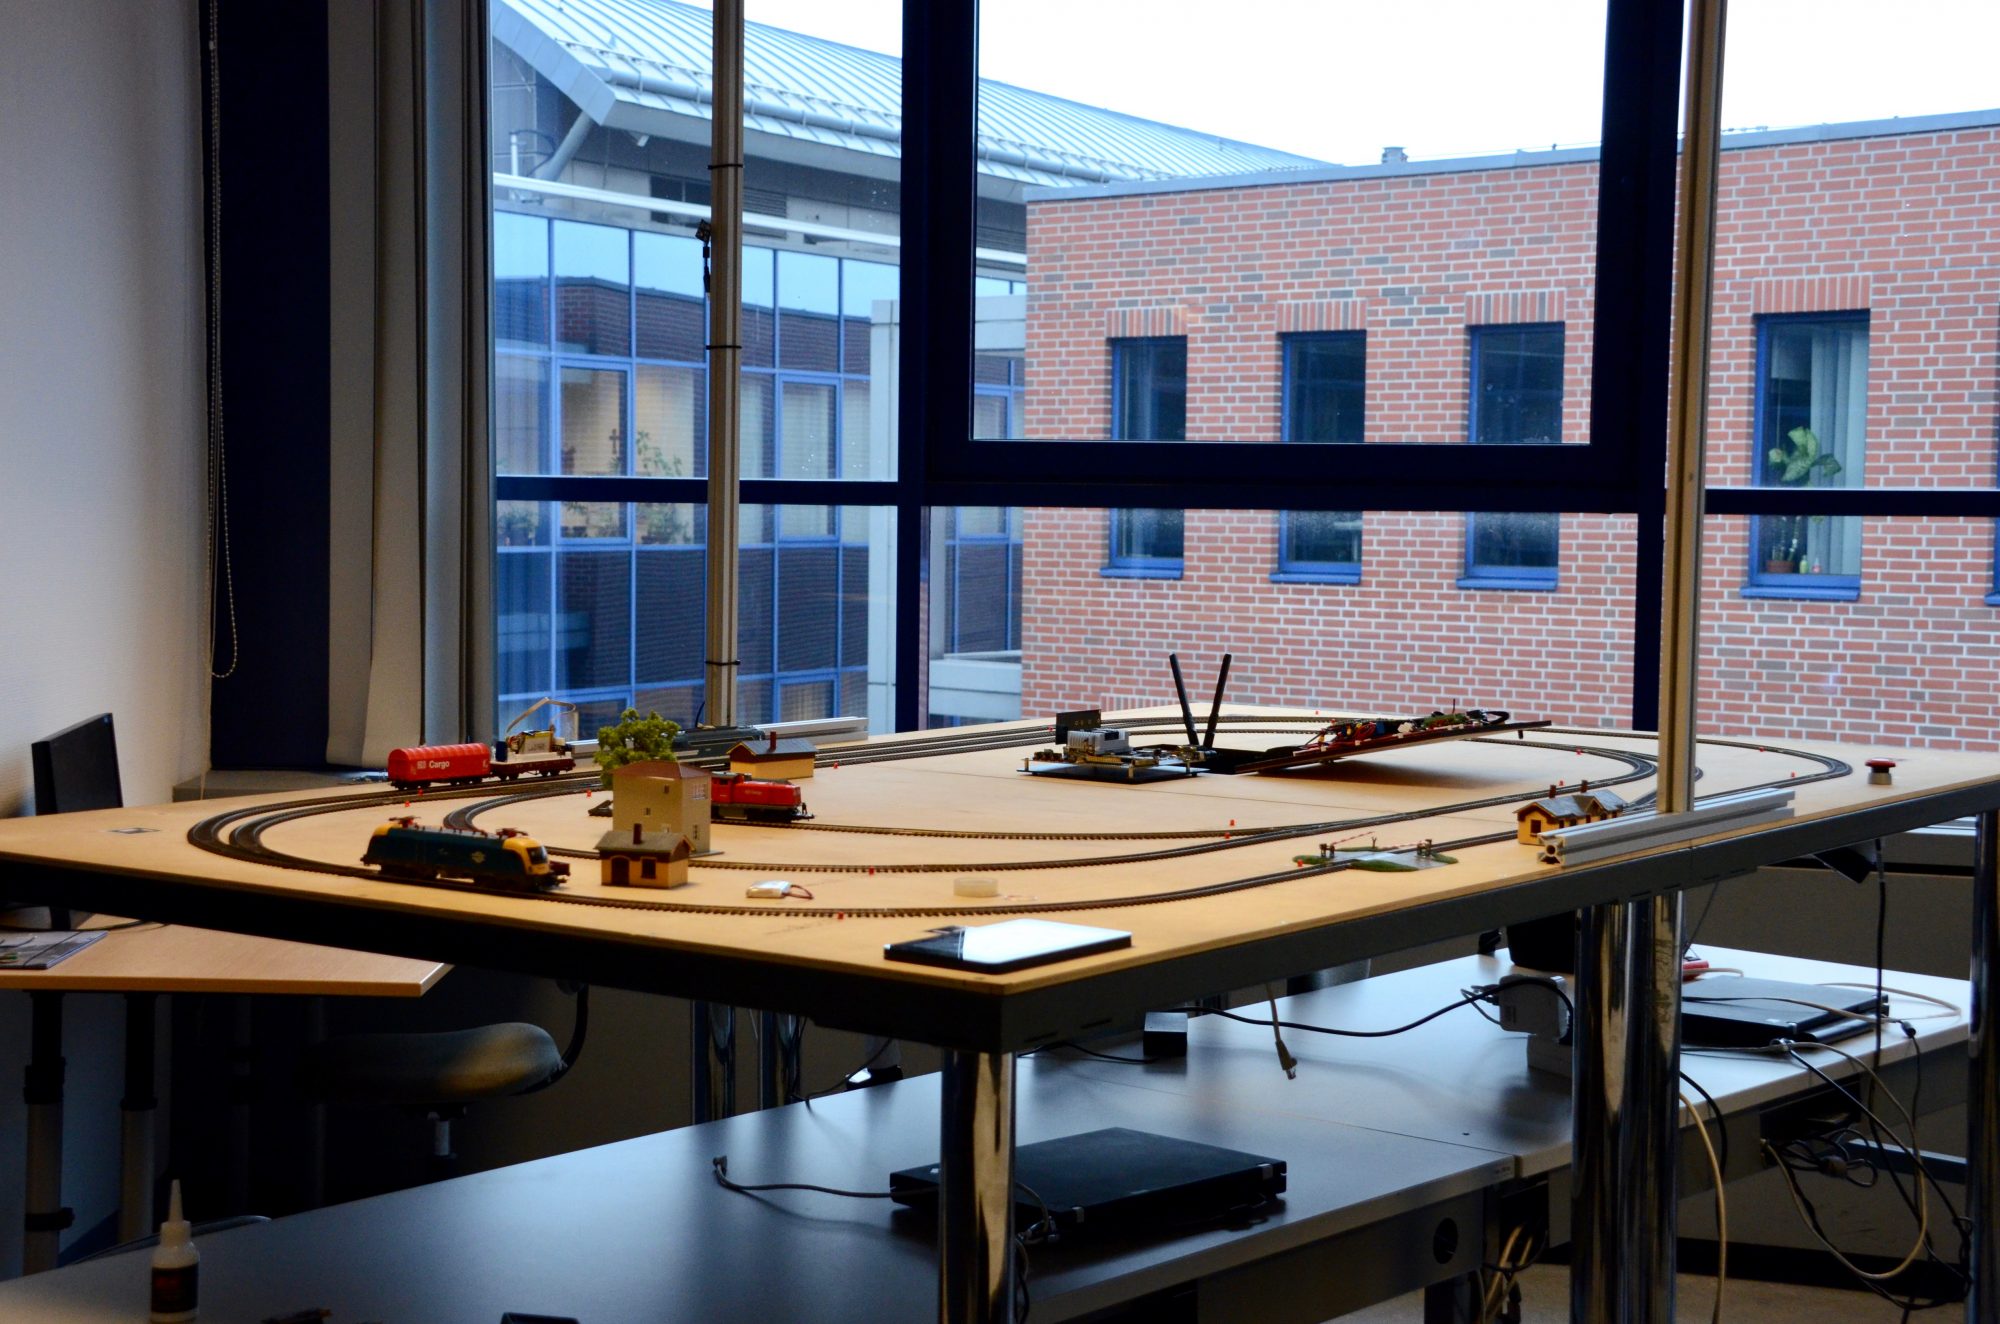
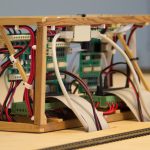
Besides, we integrated our codebase, that is necessary to communicate with the model railway track’s embedded controllers, with the statecharts, so we managed to get the statecharts control and stop the trains if any dangerous situation emerges.

This way the ‘safety logic’ controls the model railway track finally.

Statecharts are everywhere! #2 – Leaving xtUML BridgePoint

In the last statecharts post I talked about the “safety logic” that prevents the trains collision. It was designed in xtUML BridgePoint Editor an open source model-driven design environment for developing embedded software by xtUML semantics.

As it happens in IT from time to time, a single tool may not be the best for all problems. So was it with BridgePoint.


image

Although BrdigePoint has a great statechart designer module (depicted in figure above), which improves productivity a lot, the other parts of the software has some defects.

The suite comes with a module called Verifier, though it should be called Simulator instead, that helps to simulate and validate your state machines in design time.

image

Since the Verifier can be connected to platform-specific implementation code (such as Java, C, C++) through an interface, at simulation time events can be sent from the state machines to this code and vice versa. Thus it gives you a real simulation environment that can be even made cyber-physical, if the platform-specific glue code is necassarry for controling trains on a model railway!

However, there are some problems with the Verifier.

Although it is single threaded, the interface that shall be used for raising events from the platform-specific code to the simulation environment often threw NullPointerException if we used it from multiple threads concurrently in Java. This bug was not justified by any means of the structure of the state machines or the platform-independent code written inside them. We reported this non-deterministic bug to the developers, but has not found any resolution yet.

Second, we caught some weird exceptions from the Verifier, that originated from the real depth of this module. Because xtUML BridgePoint Editor is open source, we received the advice to debug and fix the errors ourselves, and then push it its GitHub repository. The only problem was, the code base is huge and its quite difficult for a developer to get involved and fix the bug in a not too long time, because we shall develop our system as well.

After the Verifier, we had some problems with the code generator module too, called Model Compiler.

First, the generated C++ code could not fit in our Arduino Uno embedded controller’s program memory (read What this project was all about). It was mostly because of the complex structure of our state machines, so we decided to write an own model compiler using BridgePoint’s own query language, RSL.

Here comes the second and the greatest problem regarding the extensibility of BridgePoint. The RSL (Rule Specification Language) is a query language (just like SQL) that should be used if you would like to transform your platform independent state machines to platform-specific code.

image

Because the state machines are platform independent and they are model-based, they have a metamodel that describes what elements can be found in a state machine model. This metamodel is so complex and there are so many associations and non-trivial paths in it, e.g. fetching the exact order of the OAL expressions that are written within the states requires 10+ classes and associations to go through. Inspecting the meta model requires days, because it is separated for 30+ packages and 3-40+ classes are in each package. In the figure above the metamodel package for State Machine is depicted.

So if you have much time, maybe years, you can write your own code generator in BridgePoint.

That was when we started to look for a new statechart editor, and found Yakindu Statecharts. It is open source and much easier to be extended by a code generator.

Follow us in the next post.

Getting started with MQTT (Mosquitto and Paho)

As part of the Eclipse IoT Challange 2016, we shall use as many open source implementations of IoT standards, and Eclipse based technologies as we can. For communication we chose MQTT and its open source broker (Mosquitto) and client (Paho) implementation.

MQTT

Here is a short description about MQTT from its homepage:

MQTT stands for MQ Telemetry Transport. It is a publish/subscribe, extremely simple and lightweight messaging protocol, designed for constrained devices and low-bandwidth, high-latency or unreliable networks. The design principles are to minimise network bandwidth and device resource requirements whilst also attempting to ensure reliability and some degree of assurance of delivery. These principles also turn out to make the protocol ideal of the emerging “machine-to-machine” (M2M) or “Internet of Things” world of connected devices, and for mobile applications where bandwidth and battery power are at a premium.

As you can find out, MQTT architecture consists of brokers and clients. Brokers interconnect clients through different topics. All clients receive the messages published to the topic they are subscribed for. A message can be anything that is convertible to a byte array. This way an N:N connection cardinality can be easily achieved as depicted on the next figure.

Different open source and proprietary implementations of MQTT brokers and clients exist in most programming languages (C, C++, Java, .NET, Python, JavaScript, etc) . We use Mosquitto as a broker, and Paho as a client implementation.

Mosquitto

The Mosquitto broker is the focus of the project and aims to be a lightweight and function MQTT broker that can run on relatively constrained systems, but still be powerful enough for a wide range of applications.

To get started with Mosquitto visit its website at http://www.eclipse.org/mosquitto/. Download and install it on your computer. We use the binary compiled for Ubuntu as it works seamless.

The default address of the running Mosquitto service is tcp://localhost:1883, on localhost over TCP protocol at port 1883.

However, if you would not like to install Mosquitto yourself, there are two Mosquitto brokers publicly available online:

  1. One that is operated by Mosquitto website itself at http://test.mosquitto.org/
  2. One that is operated by Eclipse at tcp://iot.eclipse.org:1883

Paho

The Paho project provides open-source client implementations of MQTT and MQTT-SN messaging protocols aimed at new, existing, and emerging applications for Machine‑to‑Machine (M2M) and Internet of Things (IoT). 

To get started with Paho visit its website at http://www.eclipse.org/paho/ and look for the client sample codes. We use Java Client through Maven.

 Demo time

Now we will provide some sample code snippets in Java which demostrate a “Hello World” message exchange between two clients. We use Maven for dependency management so the pom.xml is provided as well.

The code snippets are available at https://www.eclipse.org/paho/clients/java/.

Publisher (sender) client sample:

Subscriber (receiver) client sample:

Last but not least, the pom.xml that is necessary for Maven:

Conclusion

So far we have been satisfied with Paho and Mosquitto since they provide an open source implementation of the lightweight messaging protocol MQTT.

Happy coding!

A little history lesson

Before we start to talk anything about model railways, we need to understand how it works. But, because this article will be very long, I made a “read more” link right here – I apologise for the plus mouse-click, but it’ll be really long, really…

Analog and Digital Systems

Let me copy some text from Wikipedia here:

The earlier traditional analog systems where the speed and the direction of a train is controlled by adjusting the voltage on the track.

And another paragraph:

Digital model railway control systems are the modern alternative to control a layout and greatly simplify the wiring and add more flexibility in operations.

However, let’s go beyond wikipedia links 🙂

So, in the model railway “industry”, there are two solutions for controlling your trains: analog and digital controlling.

The analog systems are very simple: on each segment of the track you are able to adjust the voltage which empowers the trains, therefore this will affect their speed. For now you may have figured it out: if you want to stop a train, then you should set the voltage to zero on a segment where the train is moving. In this case, your train will stop, but because of the lack of power, there will be no other functions neither, like lamps on the locomotive, sound effects etc – this is kind of a deal-breaker in the eyes of an enthusiastic modeler.

So, the model railway industry was eager to find a solution, which keeps the opportunity to stop any train anywhere, but the functions mentioned earlier may remain still available. For that, every company developed digital systems for their locomotives, and with that move they ruined the joy of building it yourself – seriously, how could you enjoy it, if you have to be alerted which systems are compatible with each other? Bigger companies are adhered to their solutions (maybe until their death), so smaller companies have to work harder to cooperate with others.

image

But we could say that all these systems are based on the concept of decoders – each train should have this little controller, a unit which controls the whole train: the engines, the lamps, the little speaker(s), anything you want (or anything you can buy). These decoders are continuously measuring the voltage of the tracks, listening for commands on them, and if one command is addressed to the decoder, the decoder will accomplish the task. With this solution, the whole layout should have connection to the control center, so there are no need for segments at all – or is it?

DCC signal

Start with another Wikipedia quote:

Digital Command Control (DCC) is a standard for a system to operate model railways digitally. When equipped with Digital Command Control, locomotives on the same electrical section of track can be independently controlled.

The voltage to the track is a bipolar DC signal. This results in a form of alternating current, but the DCC signal does not follow a sine wave. Instead, the command station quickly switches the direction of the DC voltage, resulting in a modulated pulse wave. The length of time the voltage is applied in each direction provides the method for encoding data.


I could not say it better, that’s what DCC is all about. We could control locomotives even if there are more than one on a segment, we could send numerous commands to it, we can stop it etc. It’s very promising for us.

But our concept for our model railway was a little different: we don’t want to interfere with this system. We want to build a totally separated system beside this and let that system to decide autonomously about dangerous situations and avoid accidents. That’s where the ABC mode came across.

ABC mode

The whole idea came from this site, where the authors explained why and how this method works. In short: the decoders have a feature that if they sense asymmetric signal in the tracks, a difference between the two polarity, then they could stop the train (if they were configured properly).

But how could we achieve this? It’s really simple: we need to develop a circuit just like this:

image

Let me explain: if the booster is “sending” the DC signal in one way, then the signal has to go through one diode, and that causes 0.7V drop on the voltage. When it changes the polarity and “sends” the DC signal on the other way, then the signal goes through 4 diodes which means 2.8V drop on the voltage. In this case, the decoder will sense the difference in the signal and will stop the train on the segment.

But, I don’t talked about the relay yet! That’s because the relay was open until now, so it’s not participating anyhow in the circuit. So, if we close the relay, than there is a “better” way for the signal by going through the relay without any voltage-drop, and let’s be honest: these signals like to go through the smallest resistance, so they “choose” this way. In this case, there will be no voltage-drop at all.

Conclusion

I have asked a question before:

Do we need segments at all?

The answer: yes, we do. With the segments of the track, we could create little circuits, connect them into the system, so we could stop trains on each segment without any lack of other functions – which is not that necessary for our project, but still, it’s nice to have lights on the rail.

zsoltmazlo

Great invention: the buck converters!

Today I worked on the hardware stuff and I managed to build this circuit:

image

And the result is:

image

But what is this and why do we need it? Or, do we need it at all? Keep reading, and you will find the answers for all these questions!

Buck converters

In our future plans the layout will have some signaling lamps beside the tracks, and these signals need 12V to operate. But our chosen embedded systems, the BeagleBone Black cards need only 5V. Therefore, if we want only one power source which feeds all these devices, then we need to scale down
12V to 5V somehow.

Intermezzo: why would we use only one power source? It’s really simple: it makes the wiring simpler, there will be no more power sources and power lines, and the power loss on the wires will be no harm for us. Furthermore, it makes the future maintenance lot more easier.

With linear voltage regulators this would waste 7V on heat, and that means we will have efficiency of ~41%. Just waste of energy!

About 6 months earlier, I’ve started searching on Youtube for channels working with electronics, and I must admit that the whole idea came from this video:

So buck converters do a little magic trick: they get an input
voltage and they transform it up or down to higher or lower voltage –
with really high efficiency (about 90%). This is a very good news for us,
because that’s what we want and we can’t find a better solution for this purpose!

Some measurements – only for the hardcore readers

So, after I put the layout together I made some measurements. First, I connected the BeagleBone card to my power supply directly without any buck converters. That’s what I measured:

image

In this case it’s clear, that the output voltage is 4.99V and the card consums 310mA.

Then I added our new prototype as you can see in the following picture:

image

On the image you can see that the BeagleBone is connected to the output of the buck converter, and the buck converter is connected to the power supply by the black and red hook. Then I started to turn up the voltage on the power supply:

image

At 7,78V the current consumption is started to decrease…

image

And that’s what I am talking about! If we supply our card from 12V, it consumes only 70mA, only 22% of the original consumption!

Do the math (don’t hate me)

First, let’s Google the definition of Electric power:

The electric power in watts produced by an electric current I consisting of a charge of Q coulombs every t seconds passing through an electric potential (voltage) difference of V is:

image

Then some calculation:

  1. If consumption is 0.3A on 5V, our system will consume 0,3A*5V=1.5W power on each BeagleBone card.
  2. but, if it consumes only 0.07A on 12V, then the power consumption is 0.07A*12V=0.84W.

This is 45% more efficient than the other solution, and we just saved 0.66W power on each BeagleBone. That’s where I became so happy that I started to write this entry, so… the story ends here. Thanks for your attention, I hope you found this entry useful!

zsoltmazlo