Summaries of the MoDeS3 projects

In the last couple of weeks we have finished the open IoT Challenge submissions. One showed a control system for a Lego robot arm which executes missions. The control logic was developed with model-based development tools, computer vision observes the environment, simulation is used at design and also runtime to analyse the behaviours. Various open-source technologies were used to ensure the interoperability of the system. The full summary is available: http://modes3.tumblr.com/post/140068568675/modes3-lego-robot-the-summary

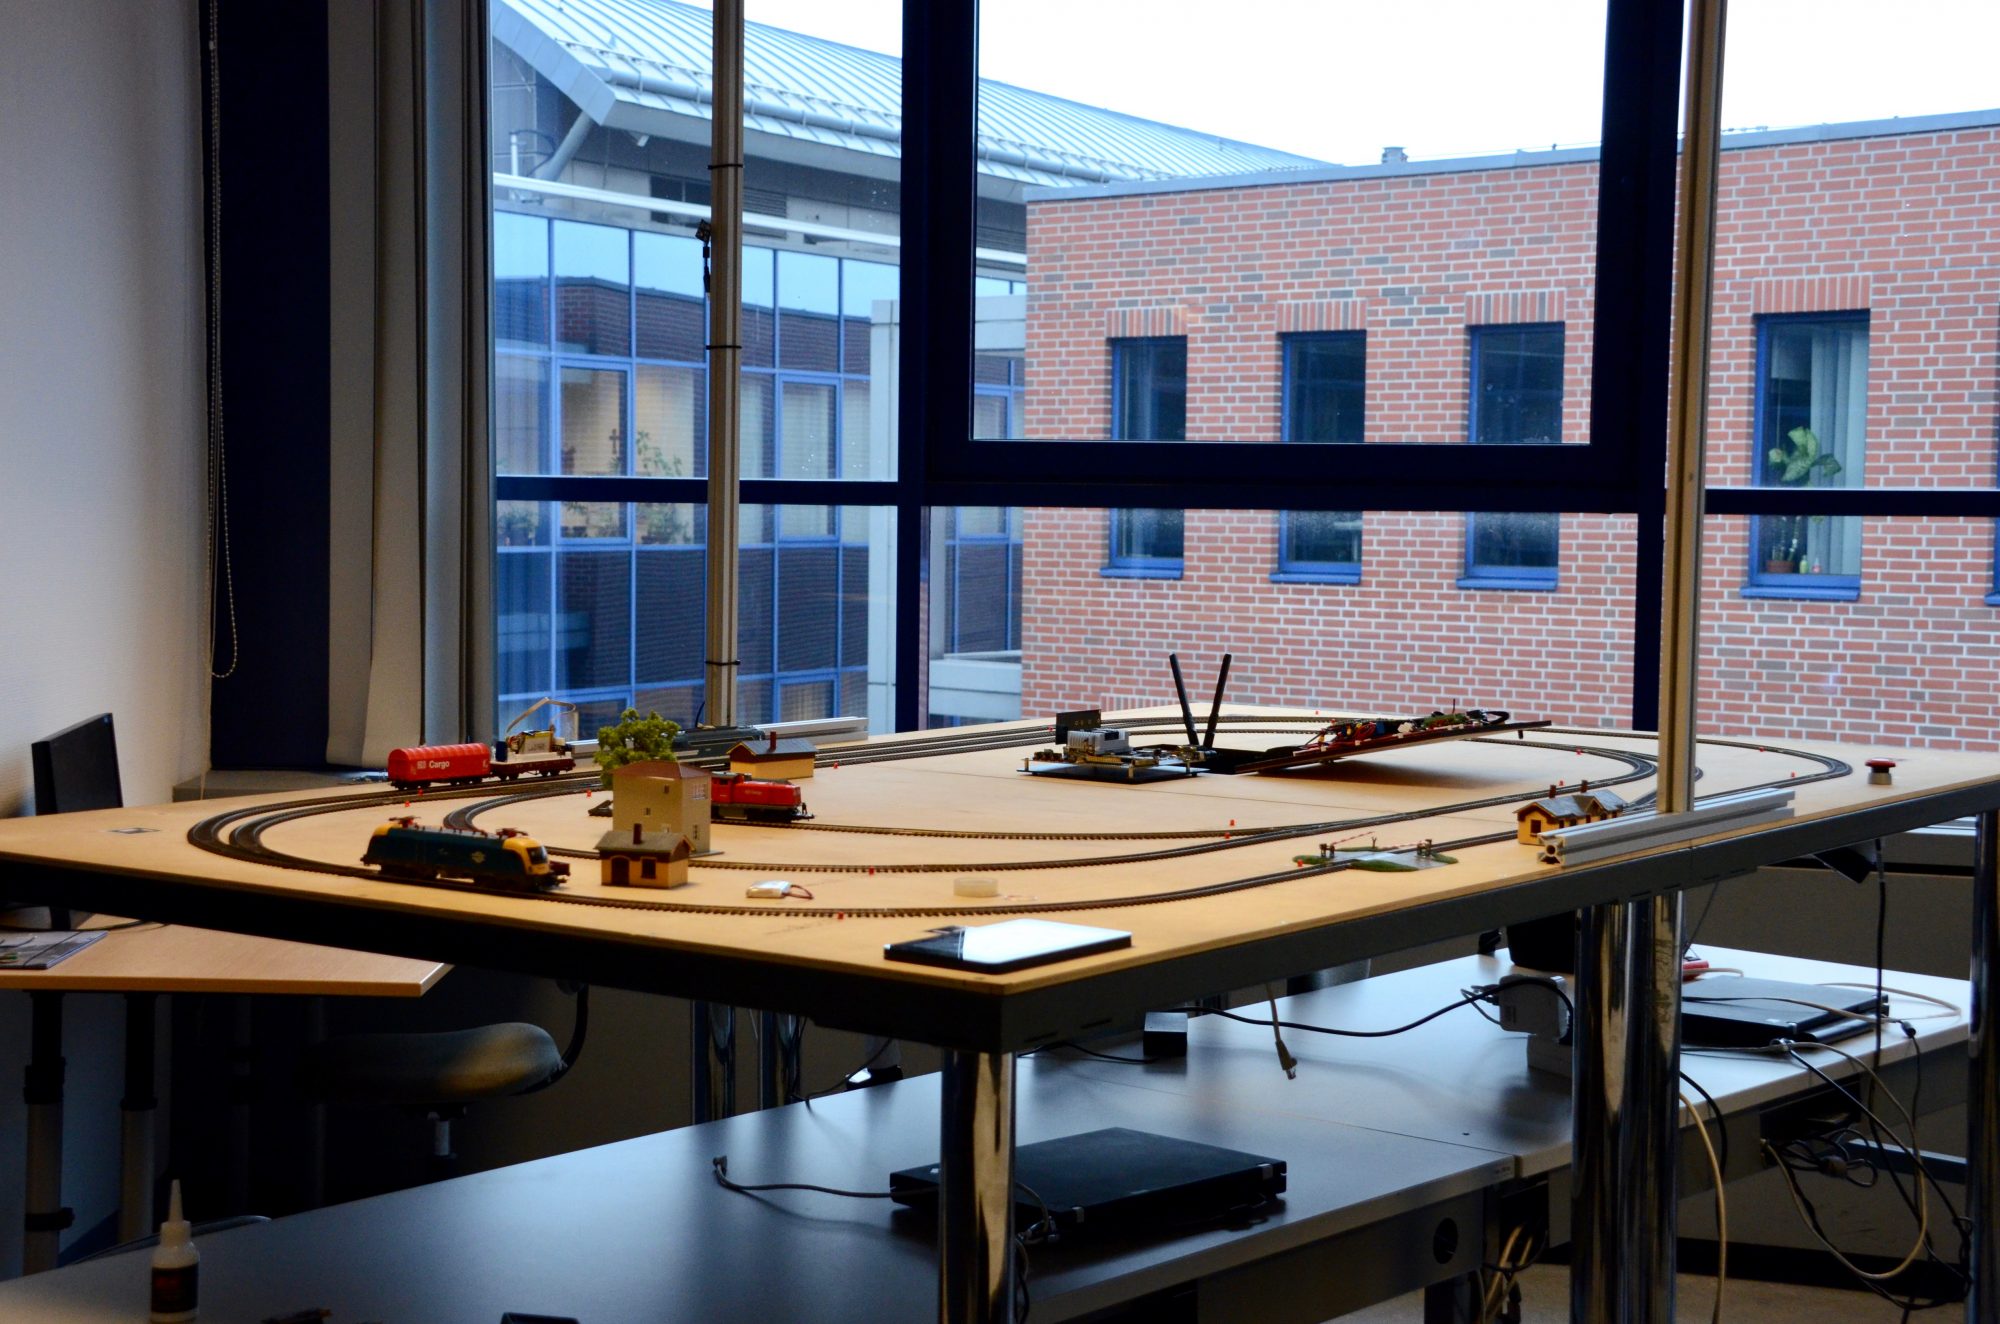
The second submission showed the development of a mixed-critical system, where various technologies were used to ensure the accident free behaviour of a distributed railway system. Beside the many open-source technologies we employed, also various verification techniques were used in the project, namely testing, runtime verification and model checking. For further details, please read our post: http://modes3.tumblr.com/post/140068608695/modes3-railway-system-summary-of-the-project

Note that in conclusion, the Lego robot arm is placed on the table of the railway system, so the whole system is built on top of two sub-systems executing different missions.

All the developments are detailed in our blog! For further questions, do not hesitate to contact us!

Runtime verification of the component behaviours in the distributed system – The embedded approach

We’ve covered the basics of our runtime verification workflow in a previous post – now it’s time to see it in action. To keep things simple, the monitor will only check whether a message that arrived to the BeagleBone is always followed by a response. A simple statechart to achieve this can be represented as:

Monitor automaton

We start from a state of no previous messages. If a message arrives, the message broker raises signal one. This state has an entry action: if the state remains active after 500 time units have passed, it raises signal three. We decided to define a single time unit as one milisecond for the BeagleBone. This means that if a response isn’t sent after half a second, the statechart will enter an error state (for debugging and videos, we’ve used two seconds). If the response was sent, we return to the first state and the process starts over.

This monitor can be expressed in our Xtext language as depicted in the following code.

Statechart in our editor

After the statechart is described, we need to map it to the corresponding C++ monitor – luckily, the latter can be done with a click in Eclipse. Transformation are developed with the help of Xtend. We are using low level monitors with minimalistic C++ code to fit in the memories of embedded systems. Generating such code is easier than writing it by hand, just take a look at this snippet:

Generated monitor

Finally, we need to write small bits of glue code to connect the component to the system being monitored – mostly mapping the signals to their corresponding messages. We’ve put together a small system with the functionality of the above statechart, where we’re sending messages and controling the replies of the BeagleBone, which then enables certain pins’ outputs to light up leds. The first led is lit when we’re in the second state, where a message has already arrived but haven’t been answered yet. The second led signals reaching an error state. We’ve sent a message that was answered, and then a message which was not – as such, we reached an error state.